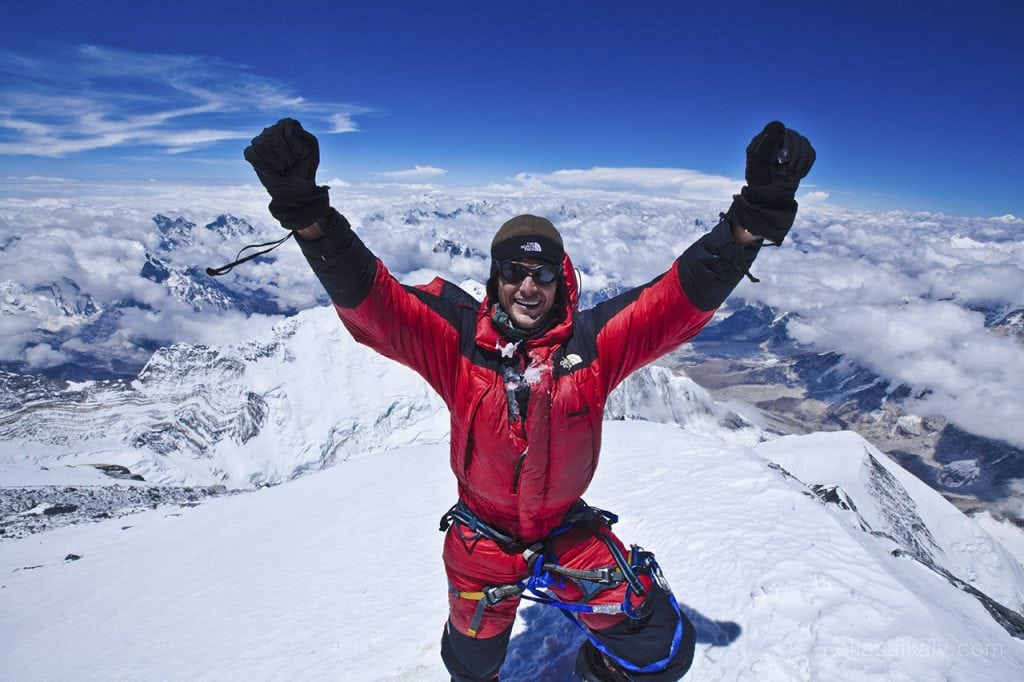
Reaching the summit of a mountain is an achievement worth celebrating, and capturing the breathtaking views from the top can immortalize the moment. Whether you’re an avid photographer or a casual enthusiast, knowing how to take stunning summit photos can help you preserve the grandeur of your experience. Here’s how to capture the perfect summit view, from gear recommendations to essential techniques.
1. Choose the Right Gear
When it comes to mountain photography, lightweight and durable gear is essential. You’ll need equipment that can withstand harsh weather conditions and rough terrain while being compact enough to carry on your climb.
- Camera: A DSLR or mirrorless camera offers the highest quality, allowing you to manually control settings like aperture, shutter speed, and ISO for optimal shots. However, a high-end compact camera or even a smartphone with a good camera can also do the job, especially if you’re focused on capturing quick moments.
- Lenses: A versatile zoom lens (like a 24-70mm) is a great option for summits, as it allows you to adjust focal length based on the composition. Wide-angle lenses (14-24mm) are ideal for sweeping panoramic shots, while telephoto lenses (70-200mm) can help capture distant details.
- Tripod: If you’re photographing at sunrise or sunset, a lightweight, compact tripod is crucial for stabilizing your shots in low light conditions. It also helps when capturing long exposures of the landscape.
- Protective Case: The elements can be harsh at higher altitudes. A weather-resistant camera bag or case will protect your gear from moisture, dust, and impacts.
2. Mind the Lighting
Lighting plays a crucial role in photography, and timing is everything when you’re on the summit. To capture the most dramatic and vivid shots, consider these tips for lighting:
- Golden Hour: The best time for summit photography is during the golden hour, which occurs just after sunrise and just before sunset. The soft, warm light creates long shadows and brings out the texture of the landscape. The sky often turns golden or pink, making for stunning photographs.
- Avoid Harsh Midday Sun: While the midday sun might seem like the perfect time for a clear view, it can create harsh contrasts and overexposed highlights. If you find yourself on the summit during this time, try to use the shadows to your advantage and avoid pointing your camera directly at the sun.
- Backlighting: If you’re photographing climbers on the summit, backlighting can create dramatic silhouettes. Positioning the sun behind your subject can give the shot a striking, almost ethereal quality, especially when the climbers’ forms stand out against a vivid sky.

3. Composition Techniques
How you frame your shot is just as important as the lighting. Here are some composition techniques to make your summit photos stand out:
- Rule of Thirds: Imagine dividing your image into three equal parts, both horizontally and vertically. Place the horizon or key features along these lines or at their intersections for a more balanced and dynamic composition.
- Foreground Elements: Including foreground elements such as rocks, trees, or climbers can help create depth and context in your shot. It also gives a sense of scale, emphasizing the vastness of the landscape.
- Panoramic Shots: At the summit, you’ll often be treated to a wide, sweeping view. Use a wide-angle lens or take multiple shots and stitch them together later to create a panoramic image that captures the grandeur of the scene.
4. Experiment with Perspectives
Don’t be afraid to experiment with different perspectives when you’re at the summit. Here are a few ideas:
- High Angle: Try capturing shots from a higher vantage point, looking down on the terrain. This can provide a sense of dominance over the landscape.
- Low Angle: Conversely, photographing from a lower angle can make mountains appear more imposing, creating a dramatic effect.
- Wide Landscape vs. Close-up Detail: While wide shots can capture the vast expanse of the view, close-up shots can bring out unique details like textures in the rocks or snow, small climbers in the distance, or even wildlife that might be present.
5. Weather Conditions and Post-Processing
Weather conditions can drastically affect your summit shots. Clouds can add mood, mist can create an ethereal look, and even storms can give your images a dramatic flair. However, it’s essential to be prepared for changing weather and know how to adjust your settings to suit the conditions.
- Low Light/Cloudy Conditions: Increase your ISO or use a slower shutter speed to let in more light. Just ensure your camera is stable to avoid motion blur.
- Post-Processing: After the climb, editing your photos can help bring out the colors and details. Adjusting the contrast, highlights, and shadows can make your summit photos pop. Use programs like Adobe Lightroom or Snapseed for smartphone editing.

